A (very) time-consuming Secret Santa gift
Praj’s editorial note: This is an older project and the information on this page may be a little sparse. I like to leave these early pages up because there’s always a chance someone may find something useful in here and because I think every project, even a small or unfinished one, is an important part of my journey. After all, the tool works at both ends. Go ahead and scroll on through if you’d like, or check out some of the other projects for a better documented read.
My residence hall has an annual tradition of Sekkrit Satan. The name might be somewhat self-explanatory, but the goal, in contrast to the more traditional secret santa, is to get one’s assigned hall-mate some kind of a gift that they would hate, albeit in a fun way. The idea wasn’t to make the recipient cry, but just to be playfully mean.
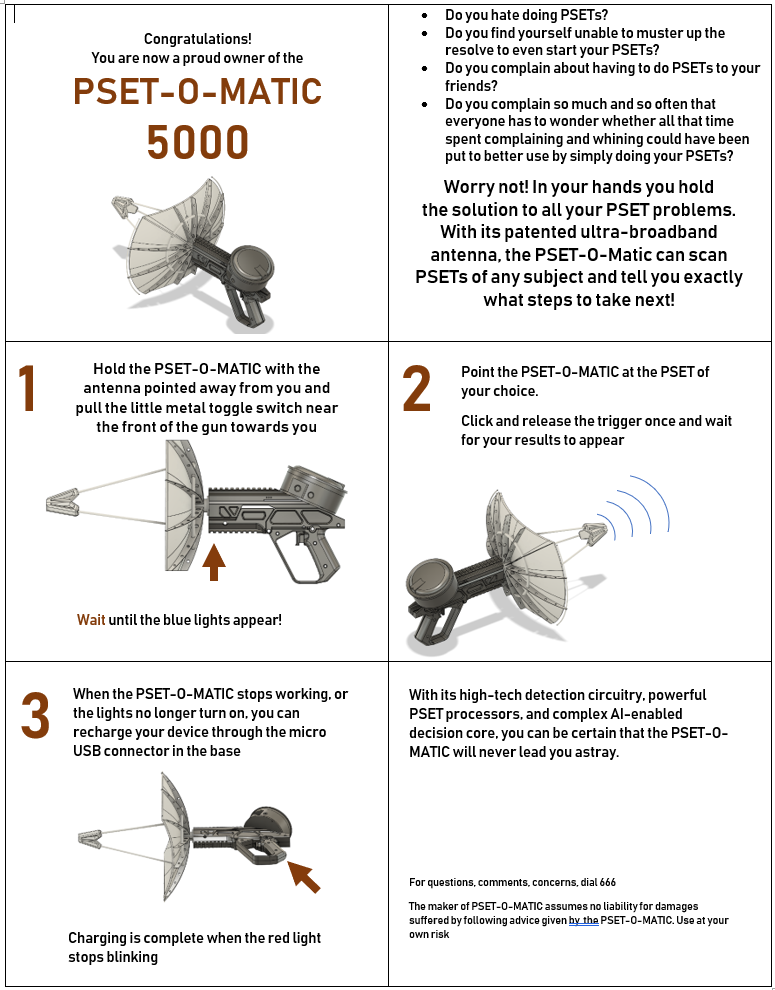
For my assigned Sekkrit Satan, I decided to focus on something involving problem sets (psets) since this person was well known for constantly and relentlessly complaining about having to do them. After some brainstorming, I decided to make some kind of device that the recipient could point at their psets and have it make decisions regarding the psets for them.
While digging around my room looking for Ideas, I came upon this Magnehelic air flow meter that I had pulled off a recycled fume hood a long time ago.
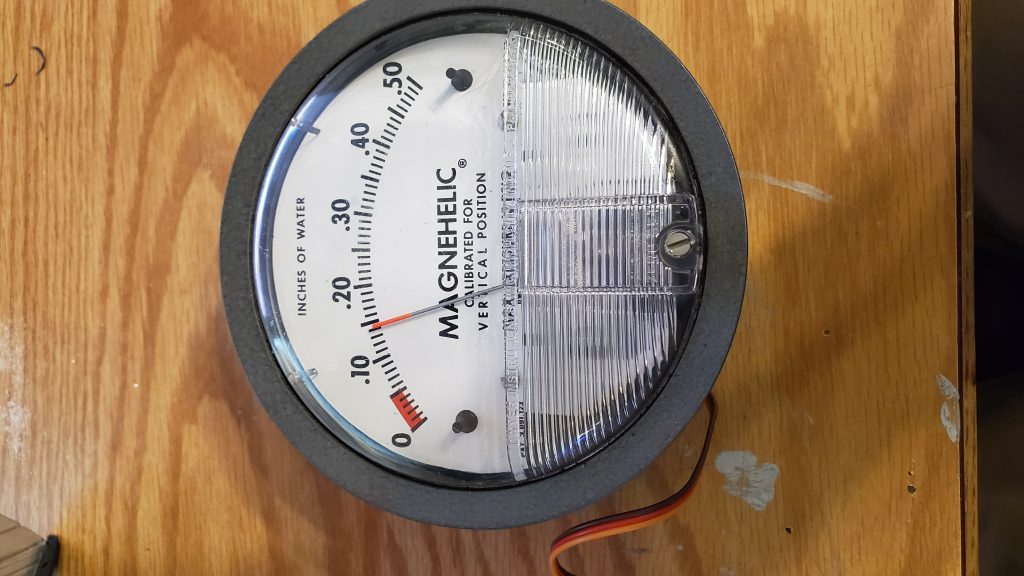
This had potential to be an indicator of some sort! But to use it as an indicator, I needed an easier way to move the needle than just blowing air through the port. I took the gauge apart to take a look at how it worked. I removed the original magnet-based mechanism and left the needle arm in place on its pivot. I wanted to move the needle with a servo, since that would let me control its position pretty accurately. To turn the needle with the servo, and still have it all fit inside the original casing, I had to lay the servo flat and use a set of 45-degree beveled gears I modeled and 3D printed to connect the needle and servo shaft.
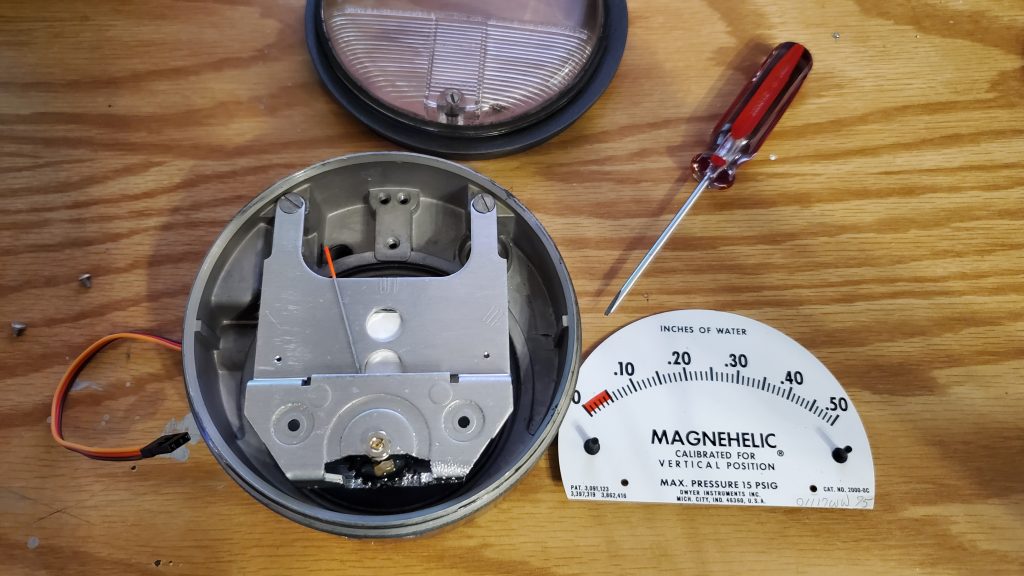
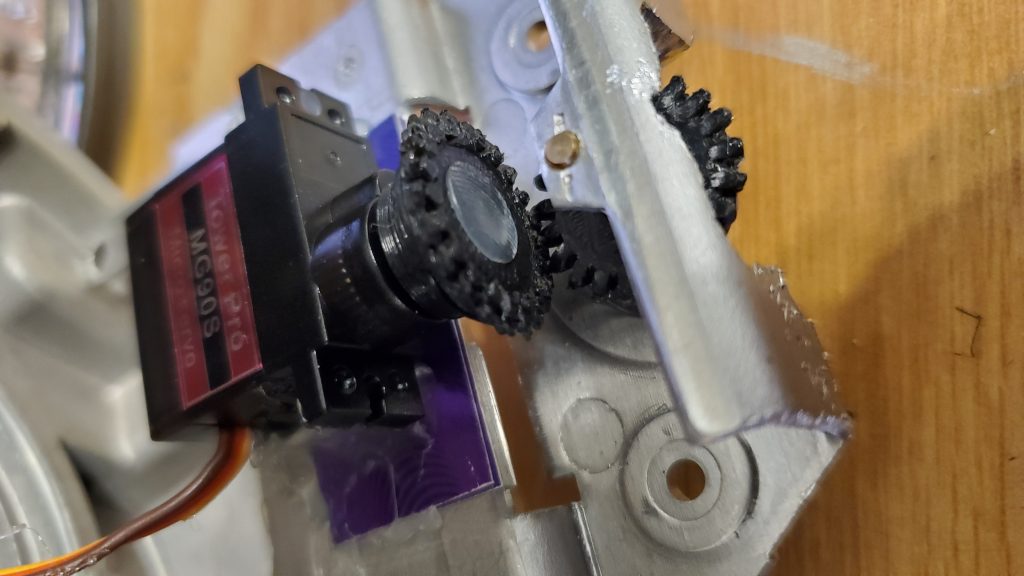
To fit the gear on the needle’s pivot, I had to cut away at the steel casing, which is kind of visible in the above two pictures. I adjusted the gear meshing by adding some cardstock shims under the servo and then hot glued everything in place.
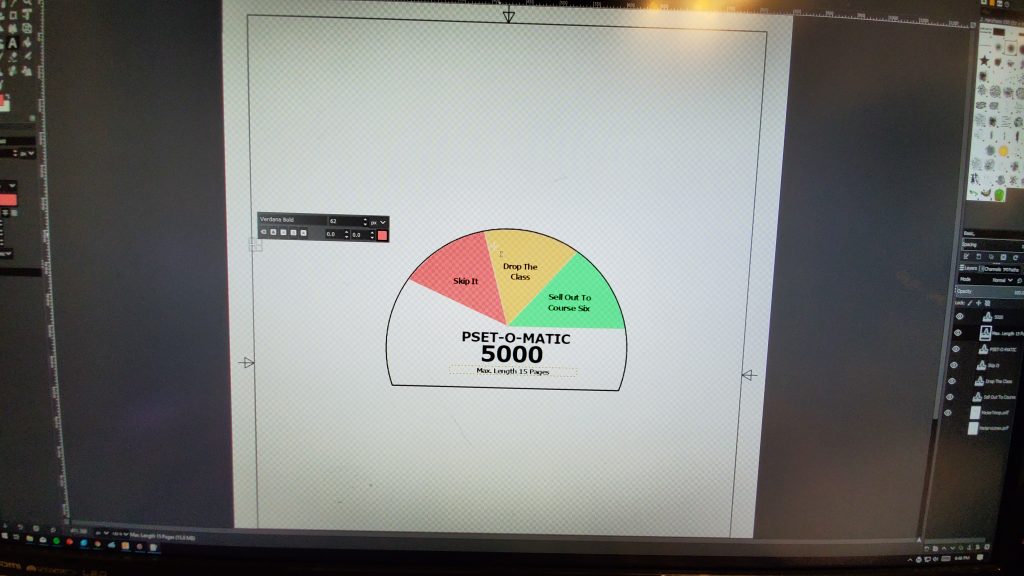
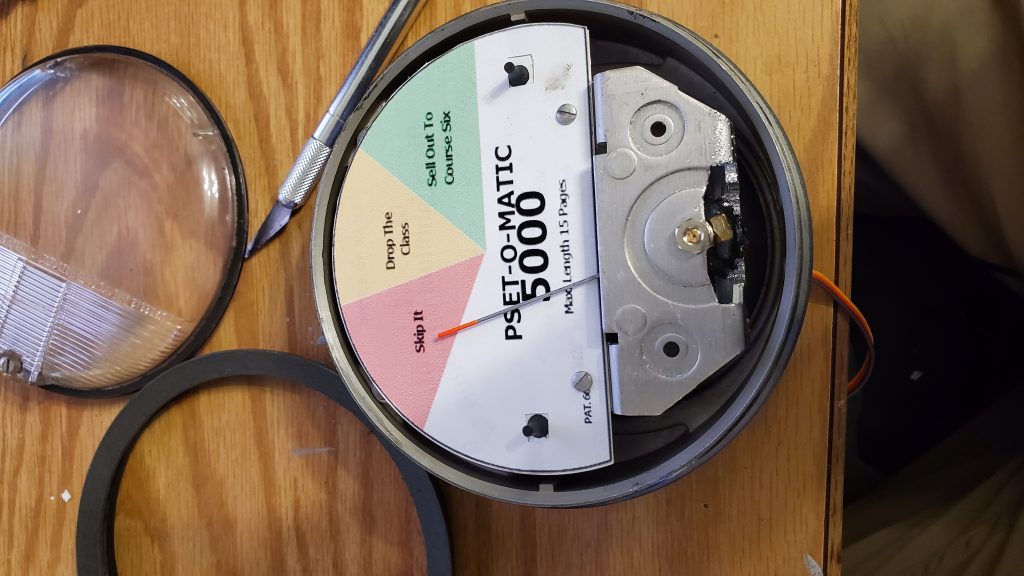
After making this modification, I was able to control the position of the needle using a micro-controller, like an Arduino. Now that I had a physical indicator, I needed something for it to indicate. I threw together a quick dial plate design on GIMP, printed it out on paper, and glued it directly on top of the original plate
The next step was to make something for this indicator to sit on. I knew I wanted some kind of gun, antenna, or barcode scanner type device that could be oriented and activated by hand. Also, because I intended to use the gauge in its original body, I wanted the final device to have a sci-fi/ steampunk kind of look to it. Playing around on Fusion 360 for a couple of hours yielded this.
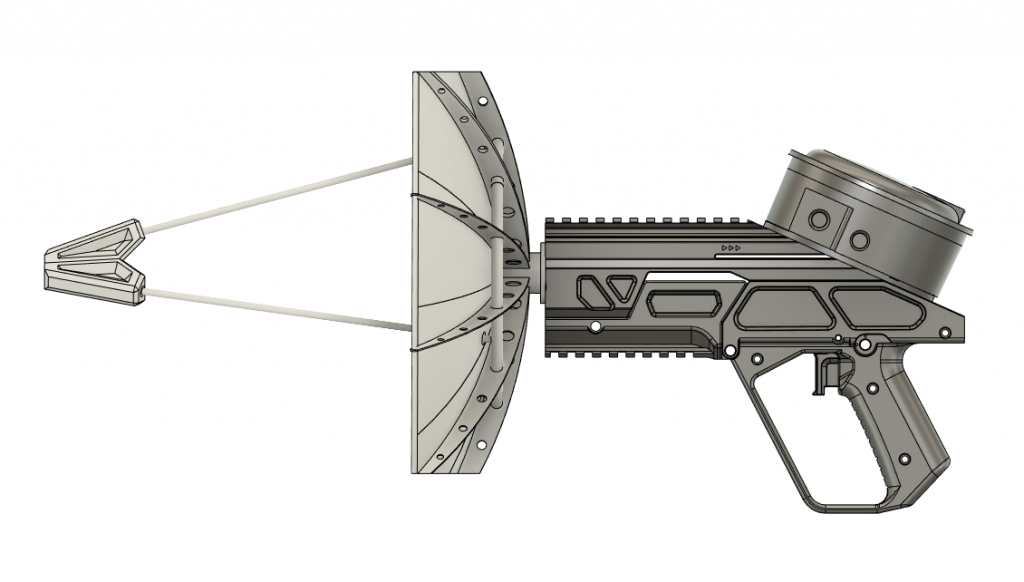
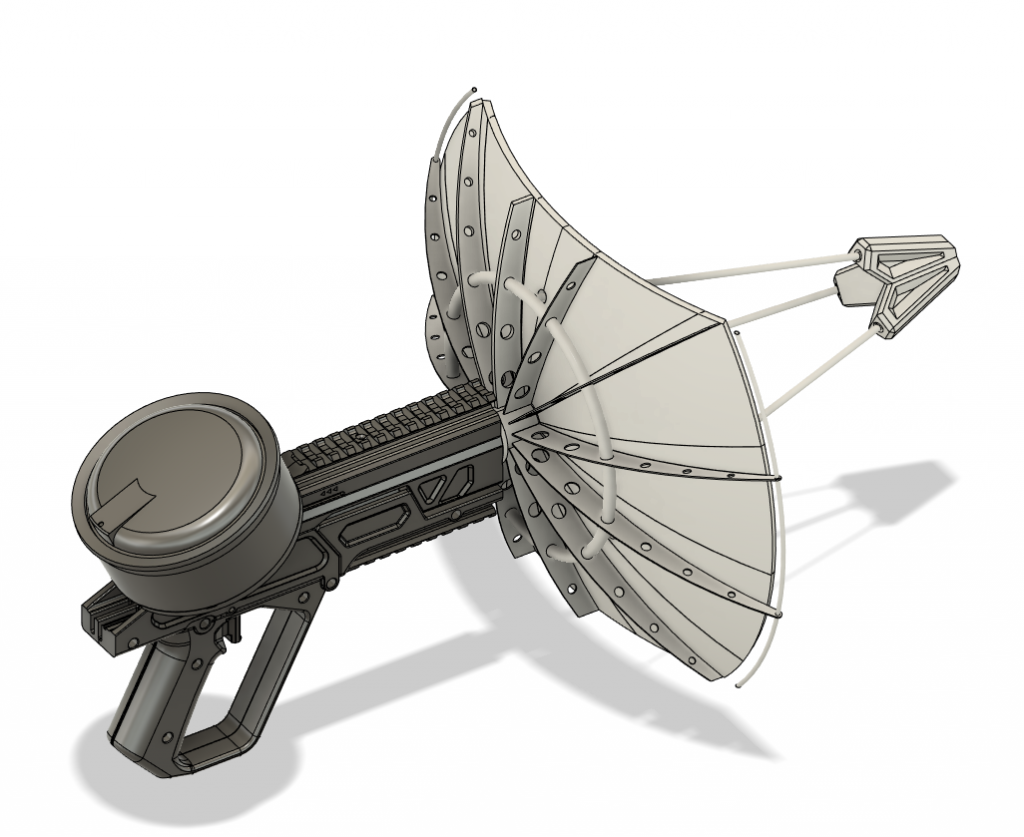
PSET Scanner Ortho
I was pretty happy with this design, so I cut the model in half and printed it out on my 3D printer using a Charcoal Grey filament.
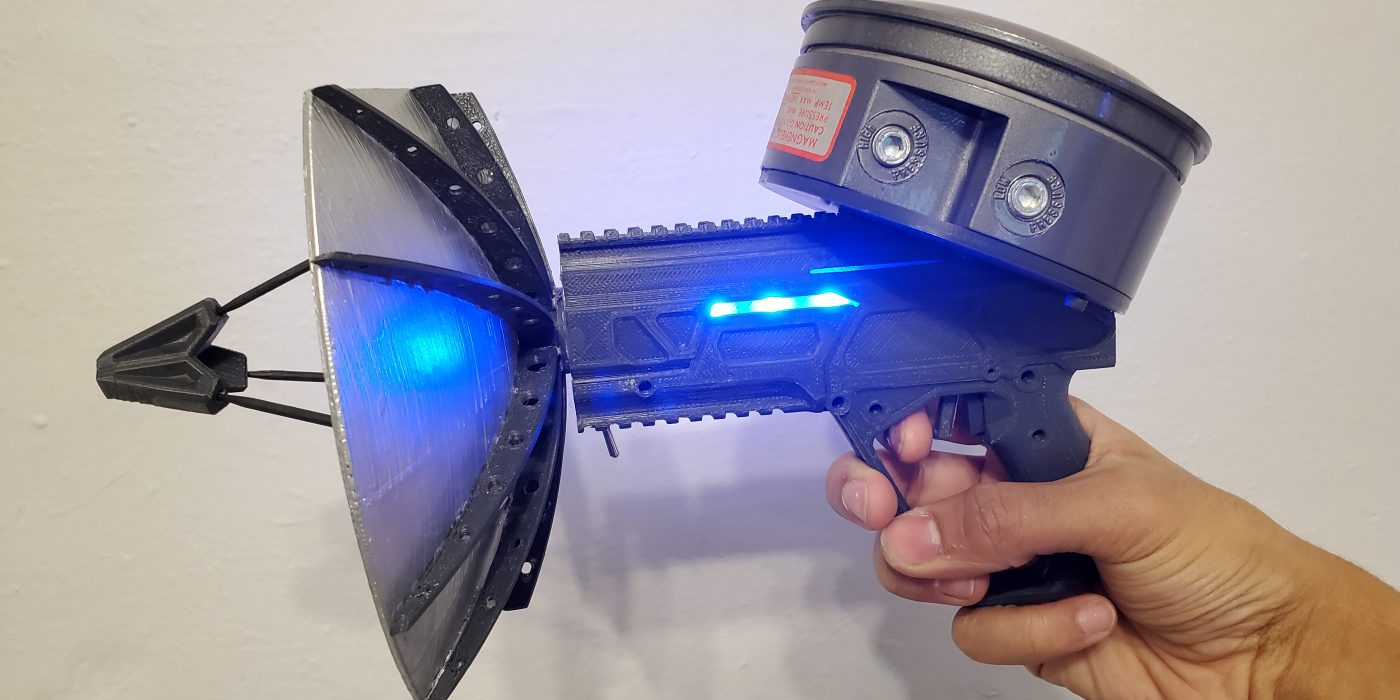
I painted the dish with a metallic silver paint, and just sanded the rest of the body pieces to give it a worn look. I installed an Arduino nano, two 1×3 strips of WS2812B LEDs, a small Li-Ion battery, and a little USB power bank control board, which steps up the 3.7V from the battery to the 5V needed by the LEDs/arduino and allows the recipient to charge the gun with micro-USB. I forgot to take a picture of any of this before gluing the gun together, so here’s a view through the programming hole in the back.
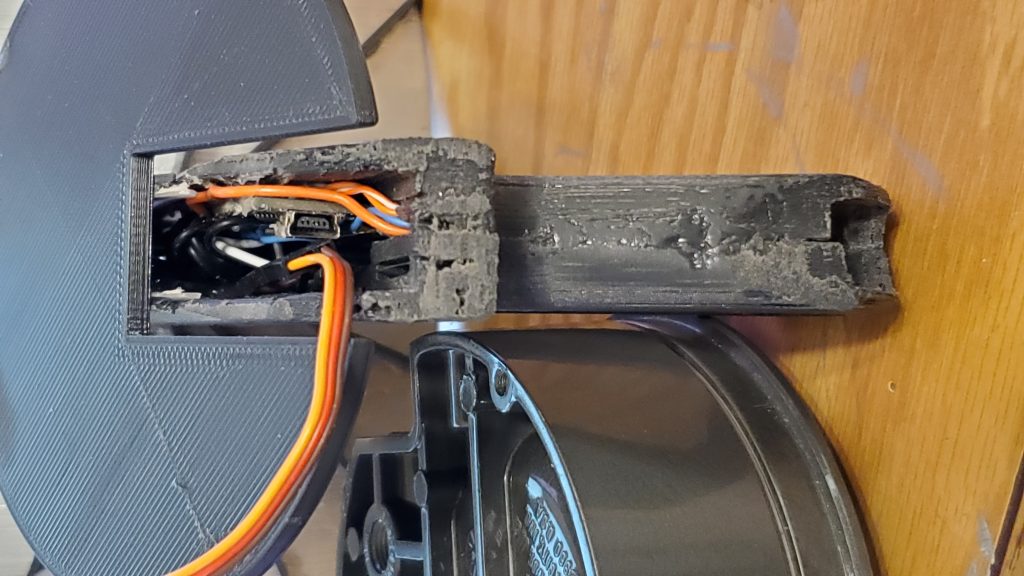
A little switch in the front was added to turn the whole thing on and the gun’s trigger pushed a little micro-switch inside the body which, when activated, told the arduino when to start the scanning routine.
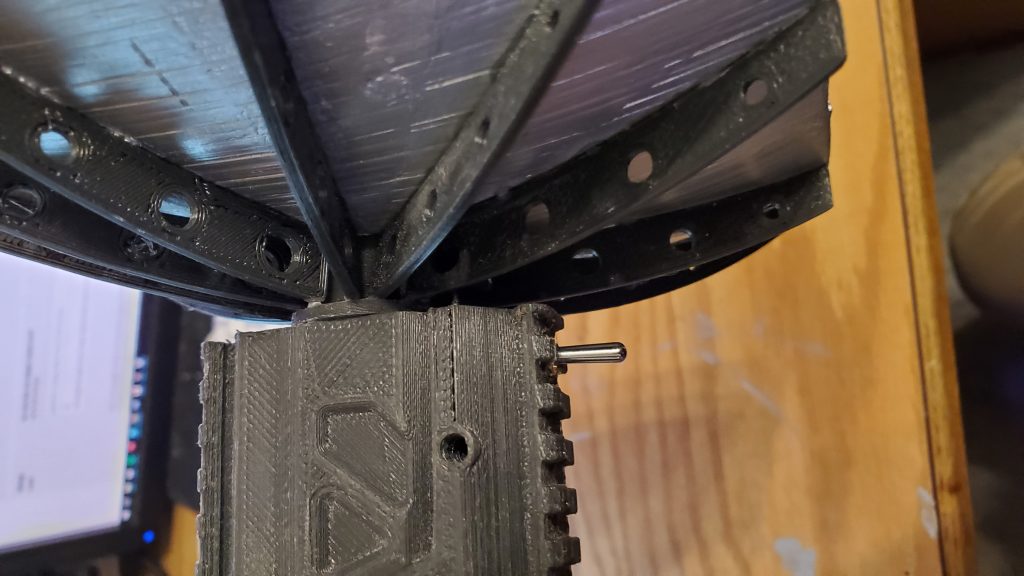
The finshed gun actually looked really cool! especially with the LEDs on.

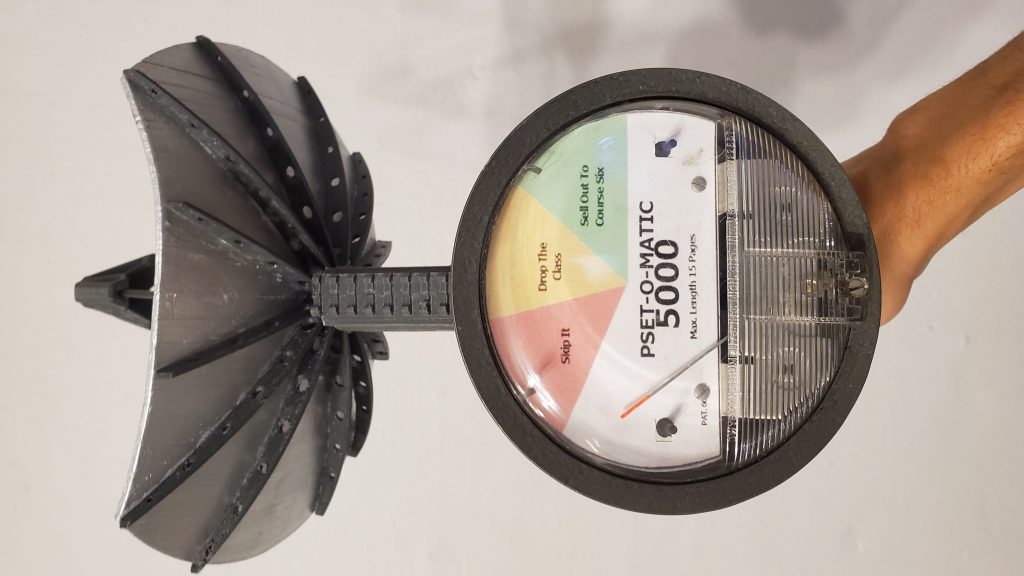
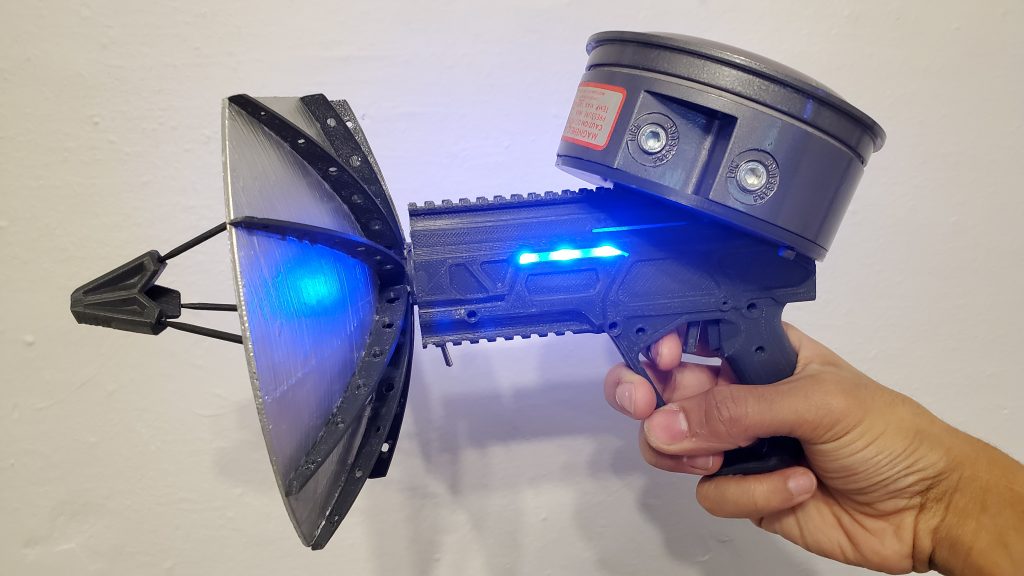
Pressing the trigger starts an animation on the LEDs and makes the needle wiggle back and forth for a few seconds before randomly settling on one of the three options and delivering the final decision. Here’s a little video of the operation.
